Pontus Stigberg is a professional nature and portrait photographer from Sweden, but now living among the fjords in Norway.
At the age of 18, he decided to follow his dreams as a professional nature photographer and filmmaker and bought a house in Åndalsnes on the west coast of Norway. With vertical mountain walls everywhere and magical fjords, he knew he had landed in a photographer's paradise where he is now living his dream. He strives to tell meaningful stories and show unique perspectives through his images and adventures.
What began as a passion has become a life-changing profession over the years. He started taking pictures with his grandfather's old camera when he was 14 and became obsessed with photography. Since then, he has taken over a million pictures.
In this article, Pontus shares his top 8 tips on how to succeed in mountain photography.
1. Choose a focal length that does justice to the mountains
Which lens do you put in your bag first when you head to the great mountains? 16-35? Please re-evaluate. The most important lens is your normal zoom. A standard 24-70mm for full frame or similar for APS-C and MFT is usually the wisest choice.
An incredibly common mistake when shooting in the mountains is to try to get as much of the impressive landscape as possible in each shot. Then when you sit down to edit the trip together, you wonder why all the mountains look so flat and small. The reason is the focal length. The longer the focal length = the bigger the mountains. By shooting around 35-50mm, the mountains will be compressed more and become more powerful.
We humans perceive the world in much the same way as a 35-50mm lens. Based on that, we can think that everything below those focal lengths will be flatter than we perceived it. At the same time, images taken above those focal lengths get even more compressed mountains and make them appear even more powerful.
Nikon D800E, Tamron 24-70mm F/2.8 G2 @38mm, 1/500 sec, ISO 100, F/4, Courmayeur, Italy
2. Keep in mind that the sun and the moon can end up behind mountains, analyse the lighting situation carefully!
Having a good idea of how the sun and moon will move is key to coming home with the best photos. More than once I have charged up and walked far to photograph the sunset in a stunning location only to realize that the sun disappeared behind another mountain long before sunset. In some valleys and locations, the sun will disappear in the early afternoon while sunset may be just before midnight in the valley next door.
If you still find yourself in a situation with shade on the mountains behind you but sun where you are, don't despair. Mountains with sun on them are powerful and take over the image while mountains with shadow leave the possibility for a subject in the image as well, since they highlight the subject. The shaded mountains then act as a perfect and inviting backdrop.
My main tip for dealing with this is to keep an eye on the weather and think about how the sun will move throughout the day. Also invest in the PhotoPills app, which is as expensive as a BigMac but much more useful. It lets you see how the sun, moon and starry sky will move across the landscape.
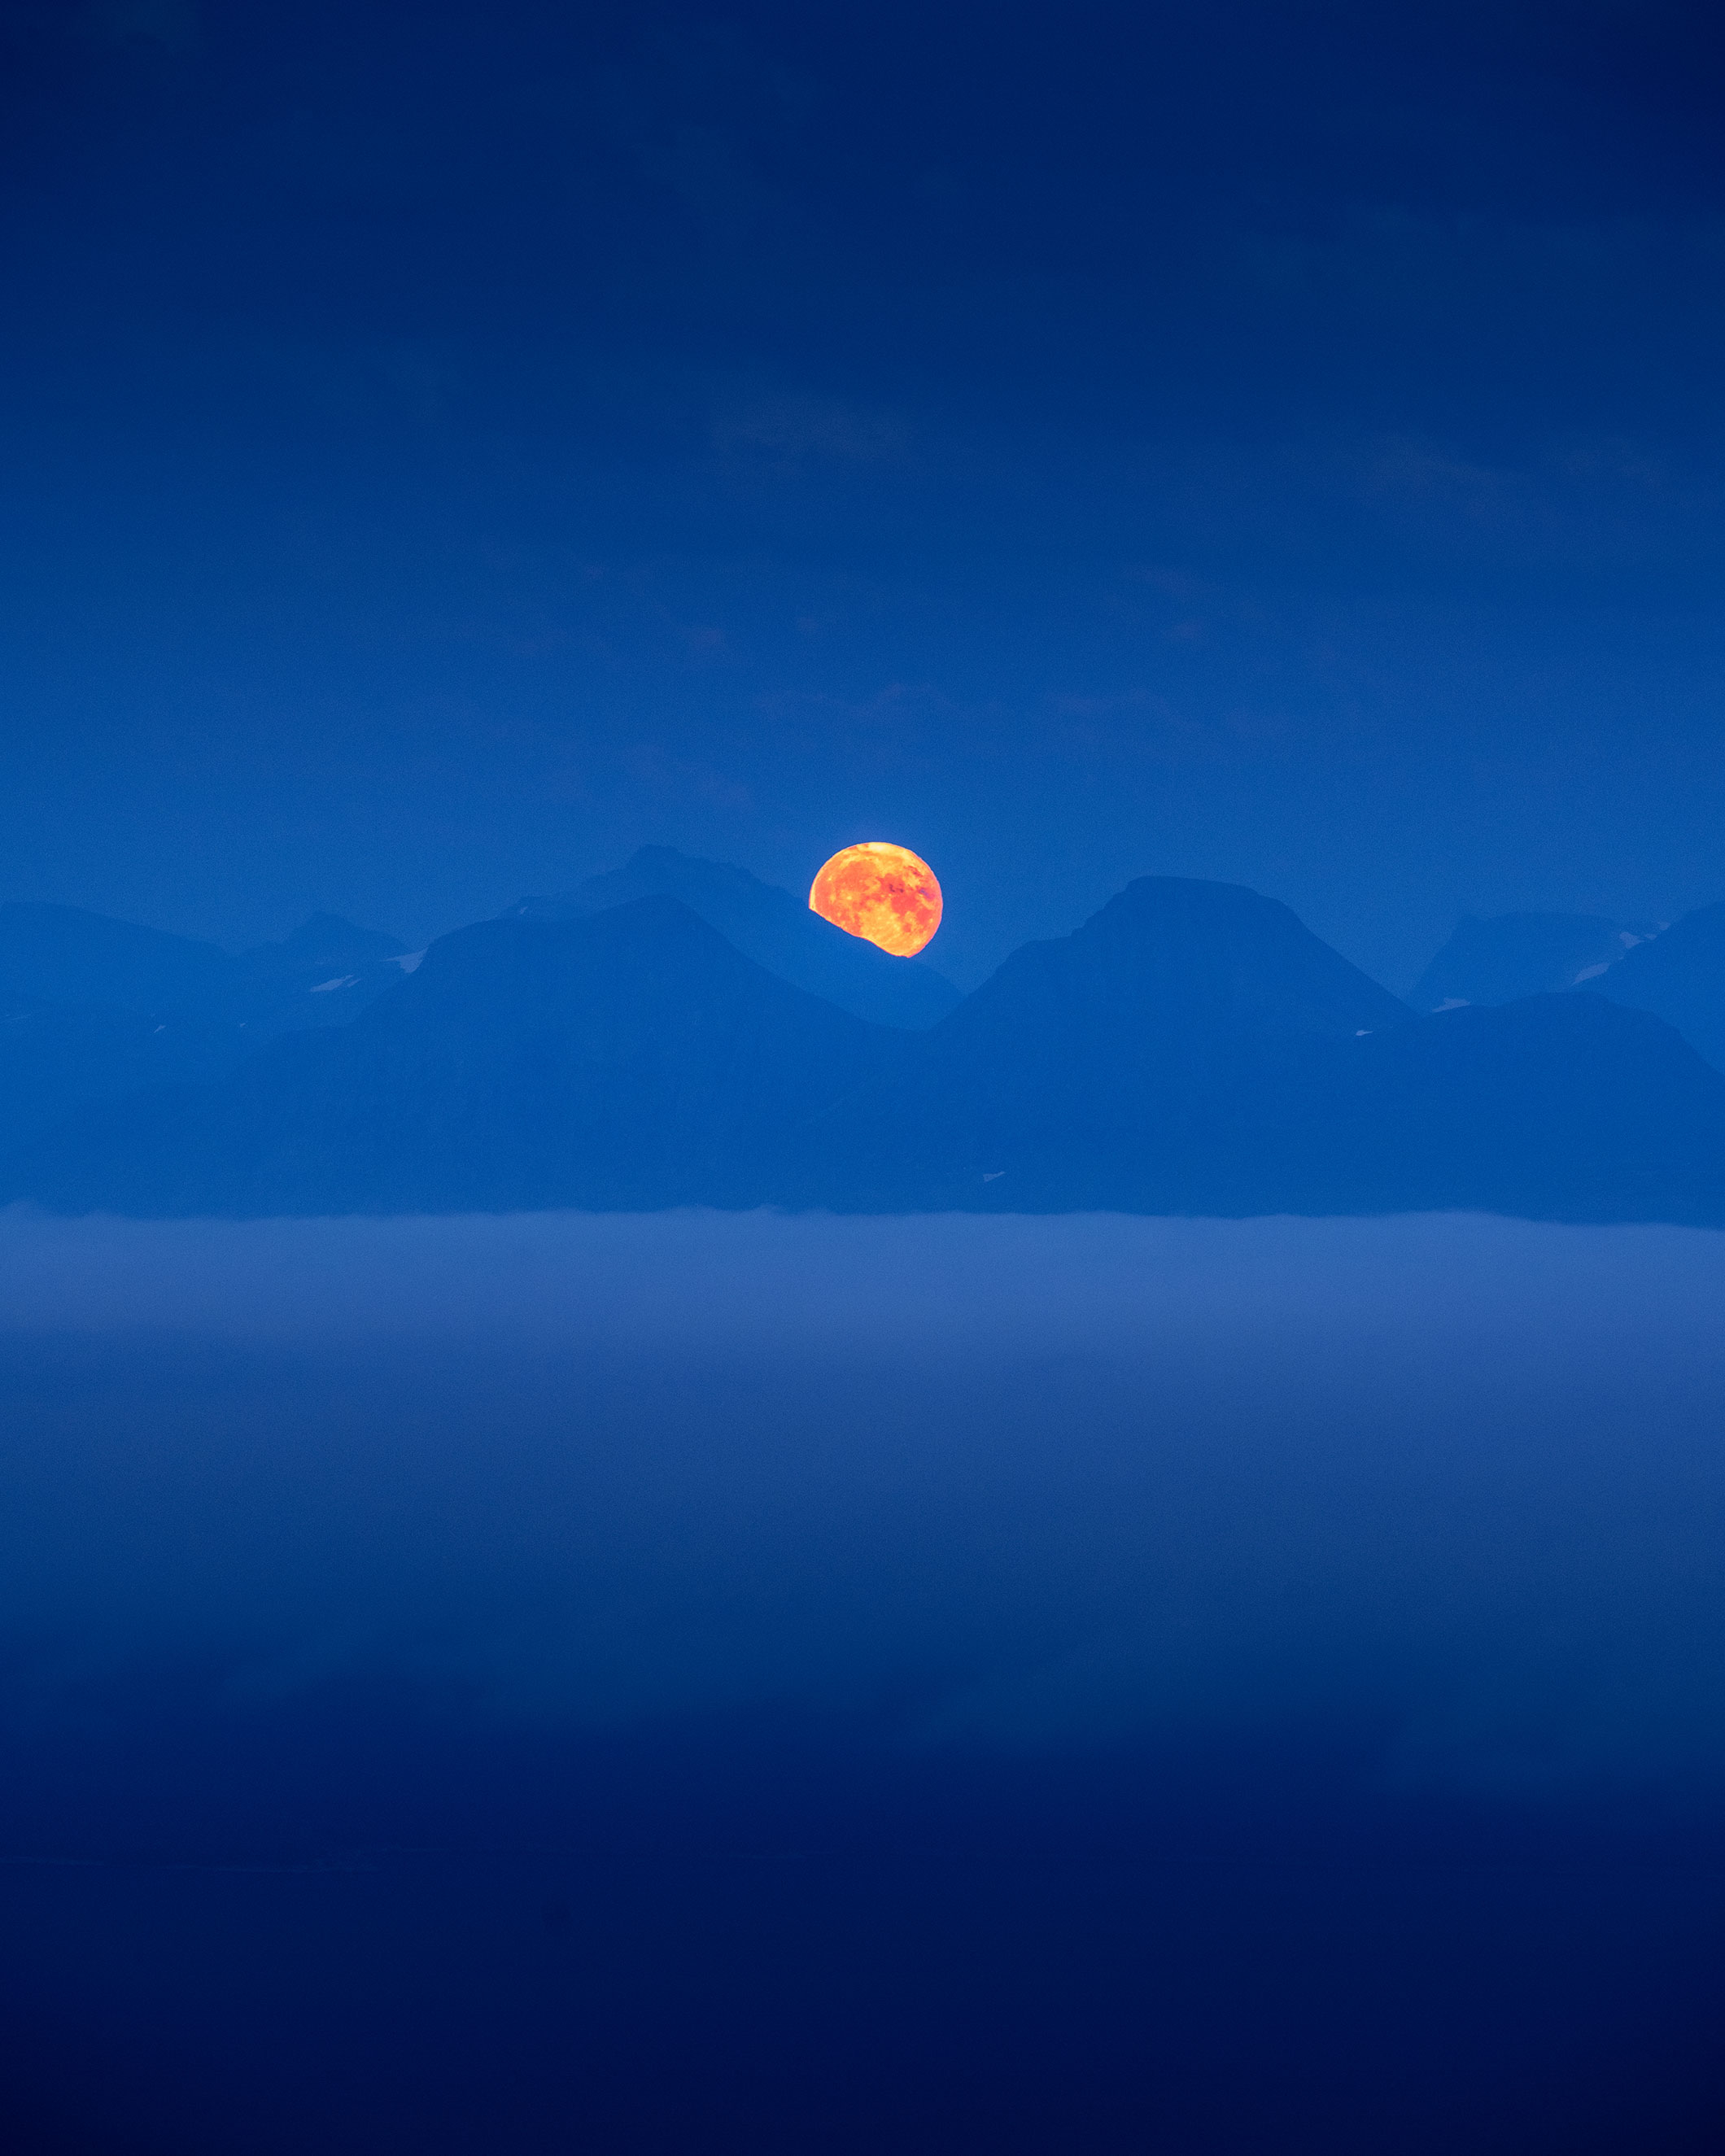
Nikon Z7, Tamron 70-200mm F/2.8 G2 @200mm, 1,6 sec, ISO 320, F/5.6. Molde, Norway
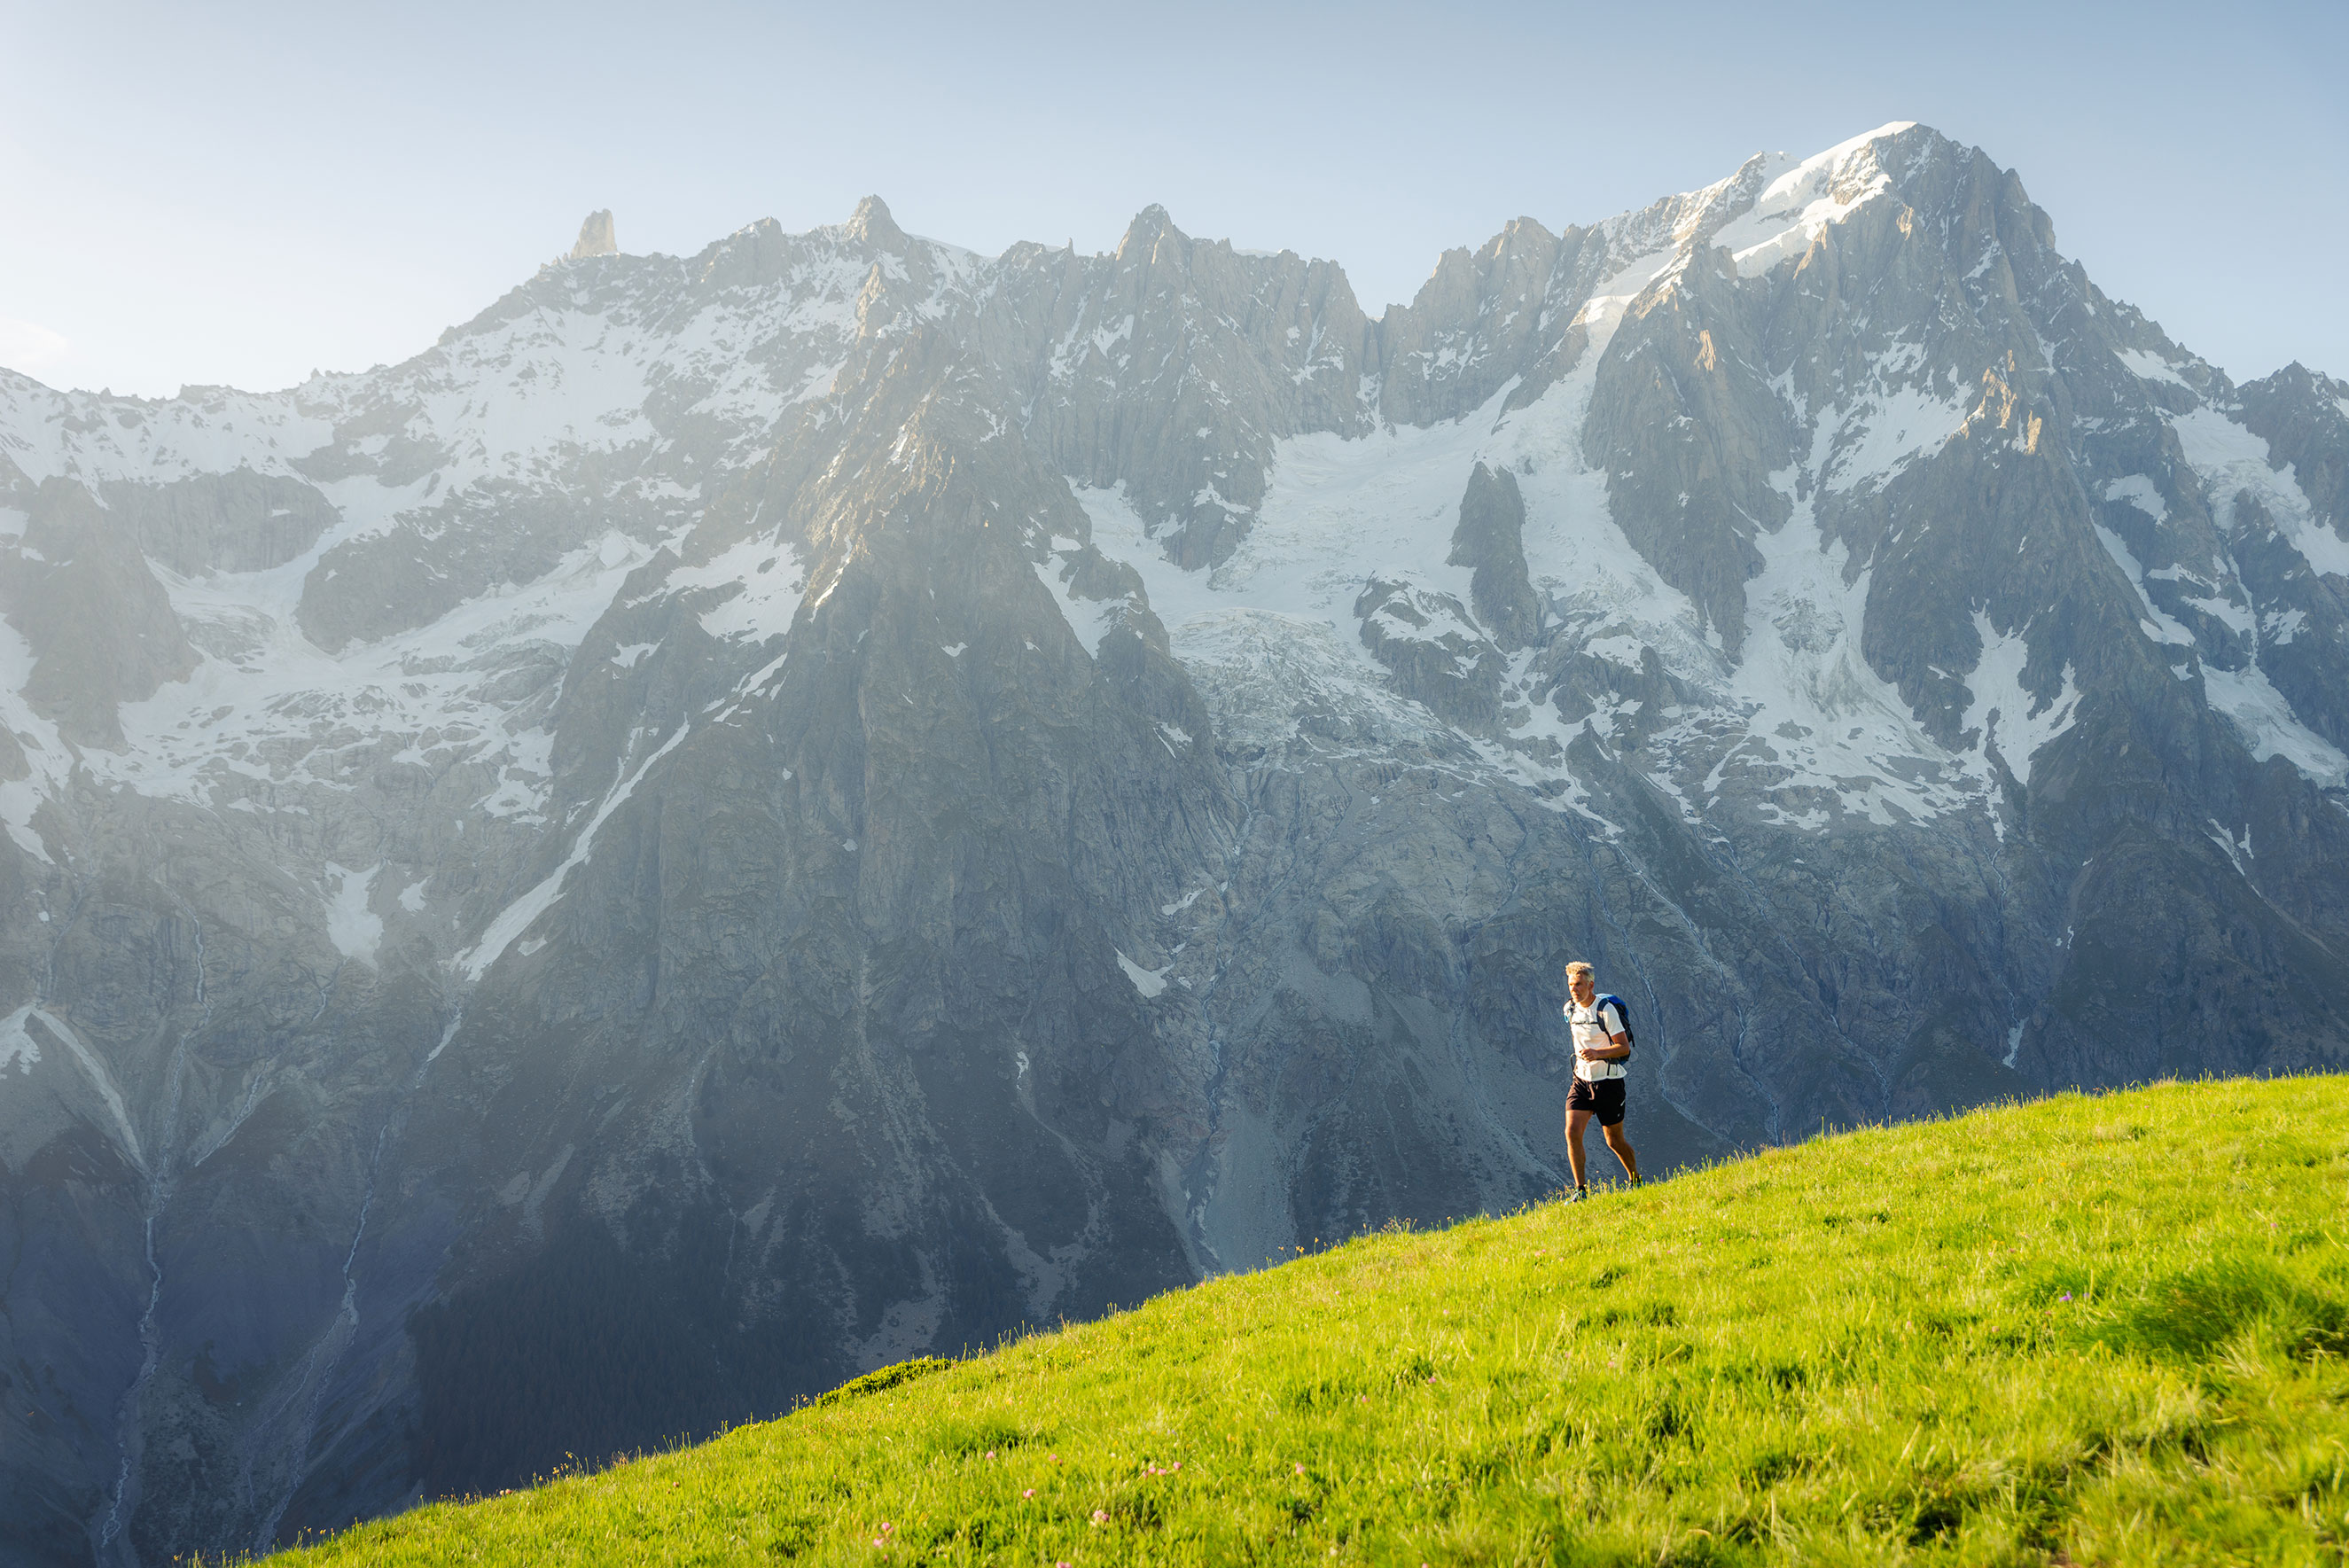
3. Include people and activities for perspective
Often a human activity in the beautiful landscape can be a great way to elevate the image from good to great. In a snowy landscape, a skier can bring the image to life and make it interesting in a completely different way than the snowfield itself can. Or have a friend with a backpack hiking on the grassy field below the mountain? You'll get an outdoor picture with the perfect background.
Ask your friend to not just stand in the landscape, but to do something with backpack and activity-friendly clothes instead. It's very common to see pictures where people are just standing and looking out at the landscape. I often find it both boring and predictable to look at such pictures after just a few minutes on Instagram. It's much more dynamic with a runner, hiker, or photographer out in the wild. Experiment with what works. If your companion isn't doing their job, you can always remove them with a clone stamp when you get home.
In the photo above, I've placed the hikers at the bottom of the image and zoomed out to emphasize the powerful landscape. The more zoomed in they are, the more it becomes a picture of activity instead of a picture of the mighty nature. I'd be happy with this image without the hikers too, but I think it's much improved by getting a natural subject into the beautiful mountains.
Nikon D800E, Tamron 70-200mm F/2.8 G2 @125mm, 1/640 sec, ISO 100, F/5.6. Chamonix, France
4. Stay safe and make wise choices out there
Making wise choices in the outdoors and staying safe is definitely my most important and best tip. It doesn't matter if you got the best picture in the world if you never made it home. Then you won't have the opportunity to get all the picture's likes on Instagram!
Jokes aside, a mountainous landscape is synonymous with a more dangerous landscape. You need to be prepared for different weather and events and have respect for the terrain. So bring the relevant safety gear. As a minimum, always bring a thin extra sweater and windbreaker. Also bring something to eat, something that is tasty and contains a lot of energy. Because if you get cold and have a long way home, the main thing is not "healthy" but that you are able to get back home in good shape.
Be aware of the area you are entering, check for any trail signs and make sure you can find them if you are unsure. Hire a local guide if you are unsure, perhaps a local nature photographer who wants to guide?
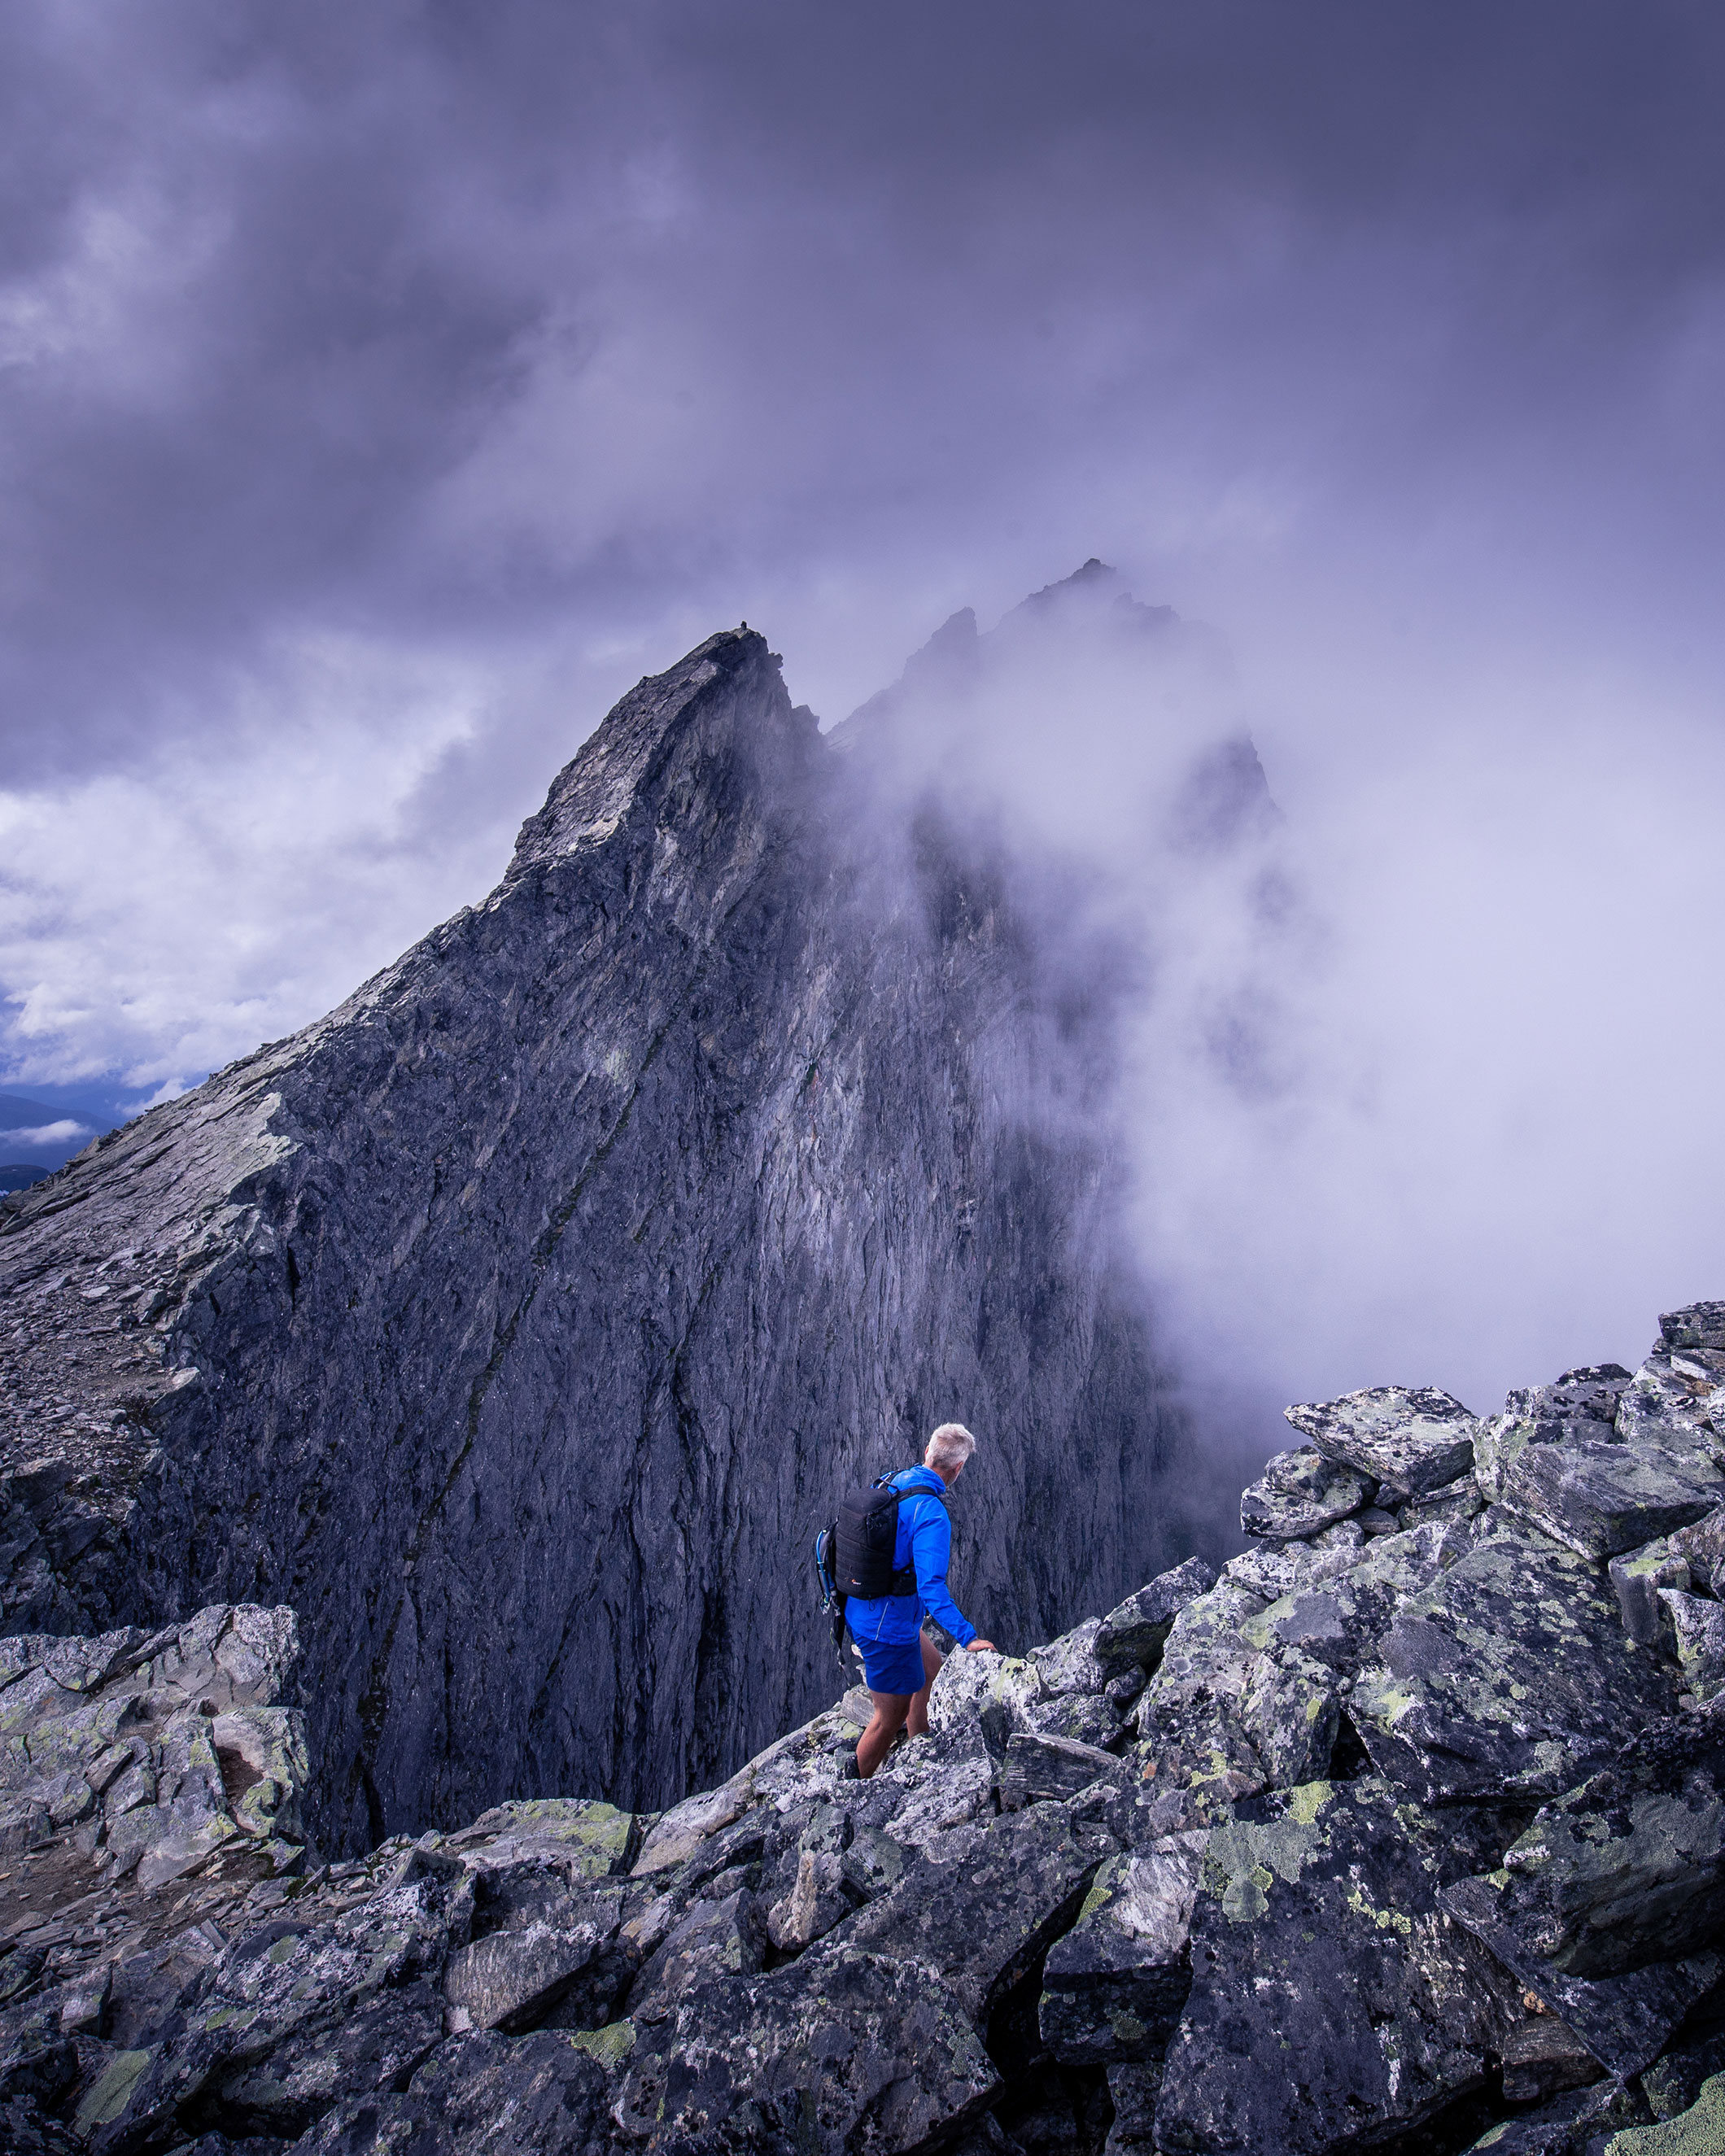
Nikon Z6, Tamron 15-30mm F/2.8 G2 @15mm, 1/400 sec, ISO 100, F/9. Trollveggen, Norway
5. Changing weather is the best, when the best light comes
Mountainous landscapes and weather forecasts are far from good friends. It can look completely cloudy one evening and suddenly the light shines through and there's a magical sunset instead.
Get outside as much as possible and be prepared with your camera when the weather changes. Suddenly, the light can break through a cloud and hit the mountain. The dramatic light that occurs then is hard to beat. It can be nice to stand with the telephoto lens at the ready and click pictures of all the fine details in the changing weather. Usually there are lots of interesting phenomena when the weather changes a lot. It can be tempting and perfect to go out into the mountains and shoot when the sun is shining, and the sky is blue. It really is perfect for hiking, skiing, cycling, or running. But rarely for photography. Early mornings and late afternoons and evenings provide great light. Clouds and "storms" add drama and life to the image.
Don't forget that the most epic sunsets usually come after a day of weather of all kinds. A sunset without clouds with clear skies is not usually the one you remember.
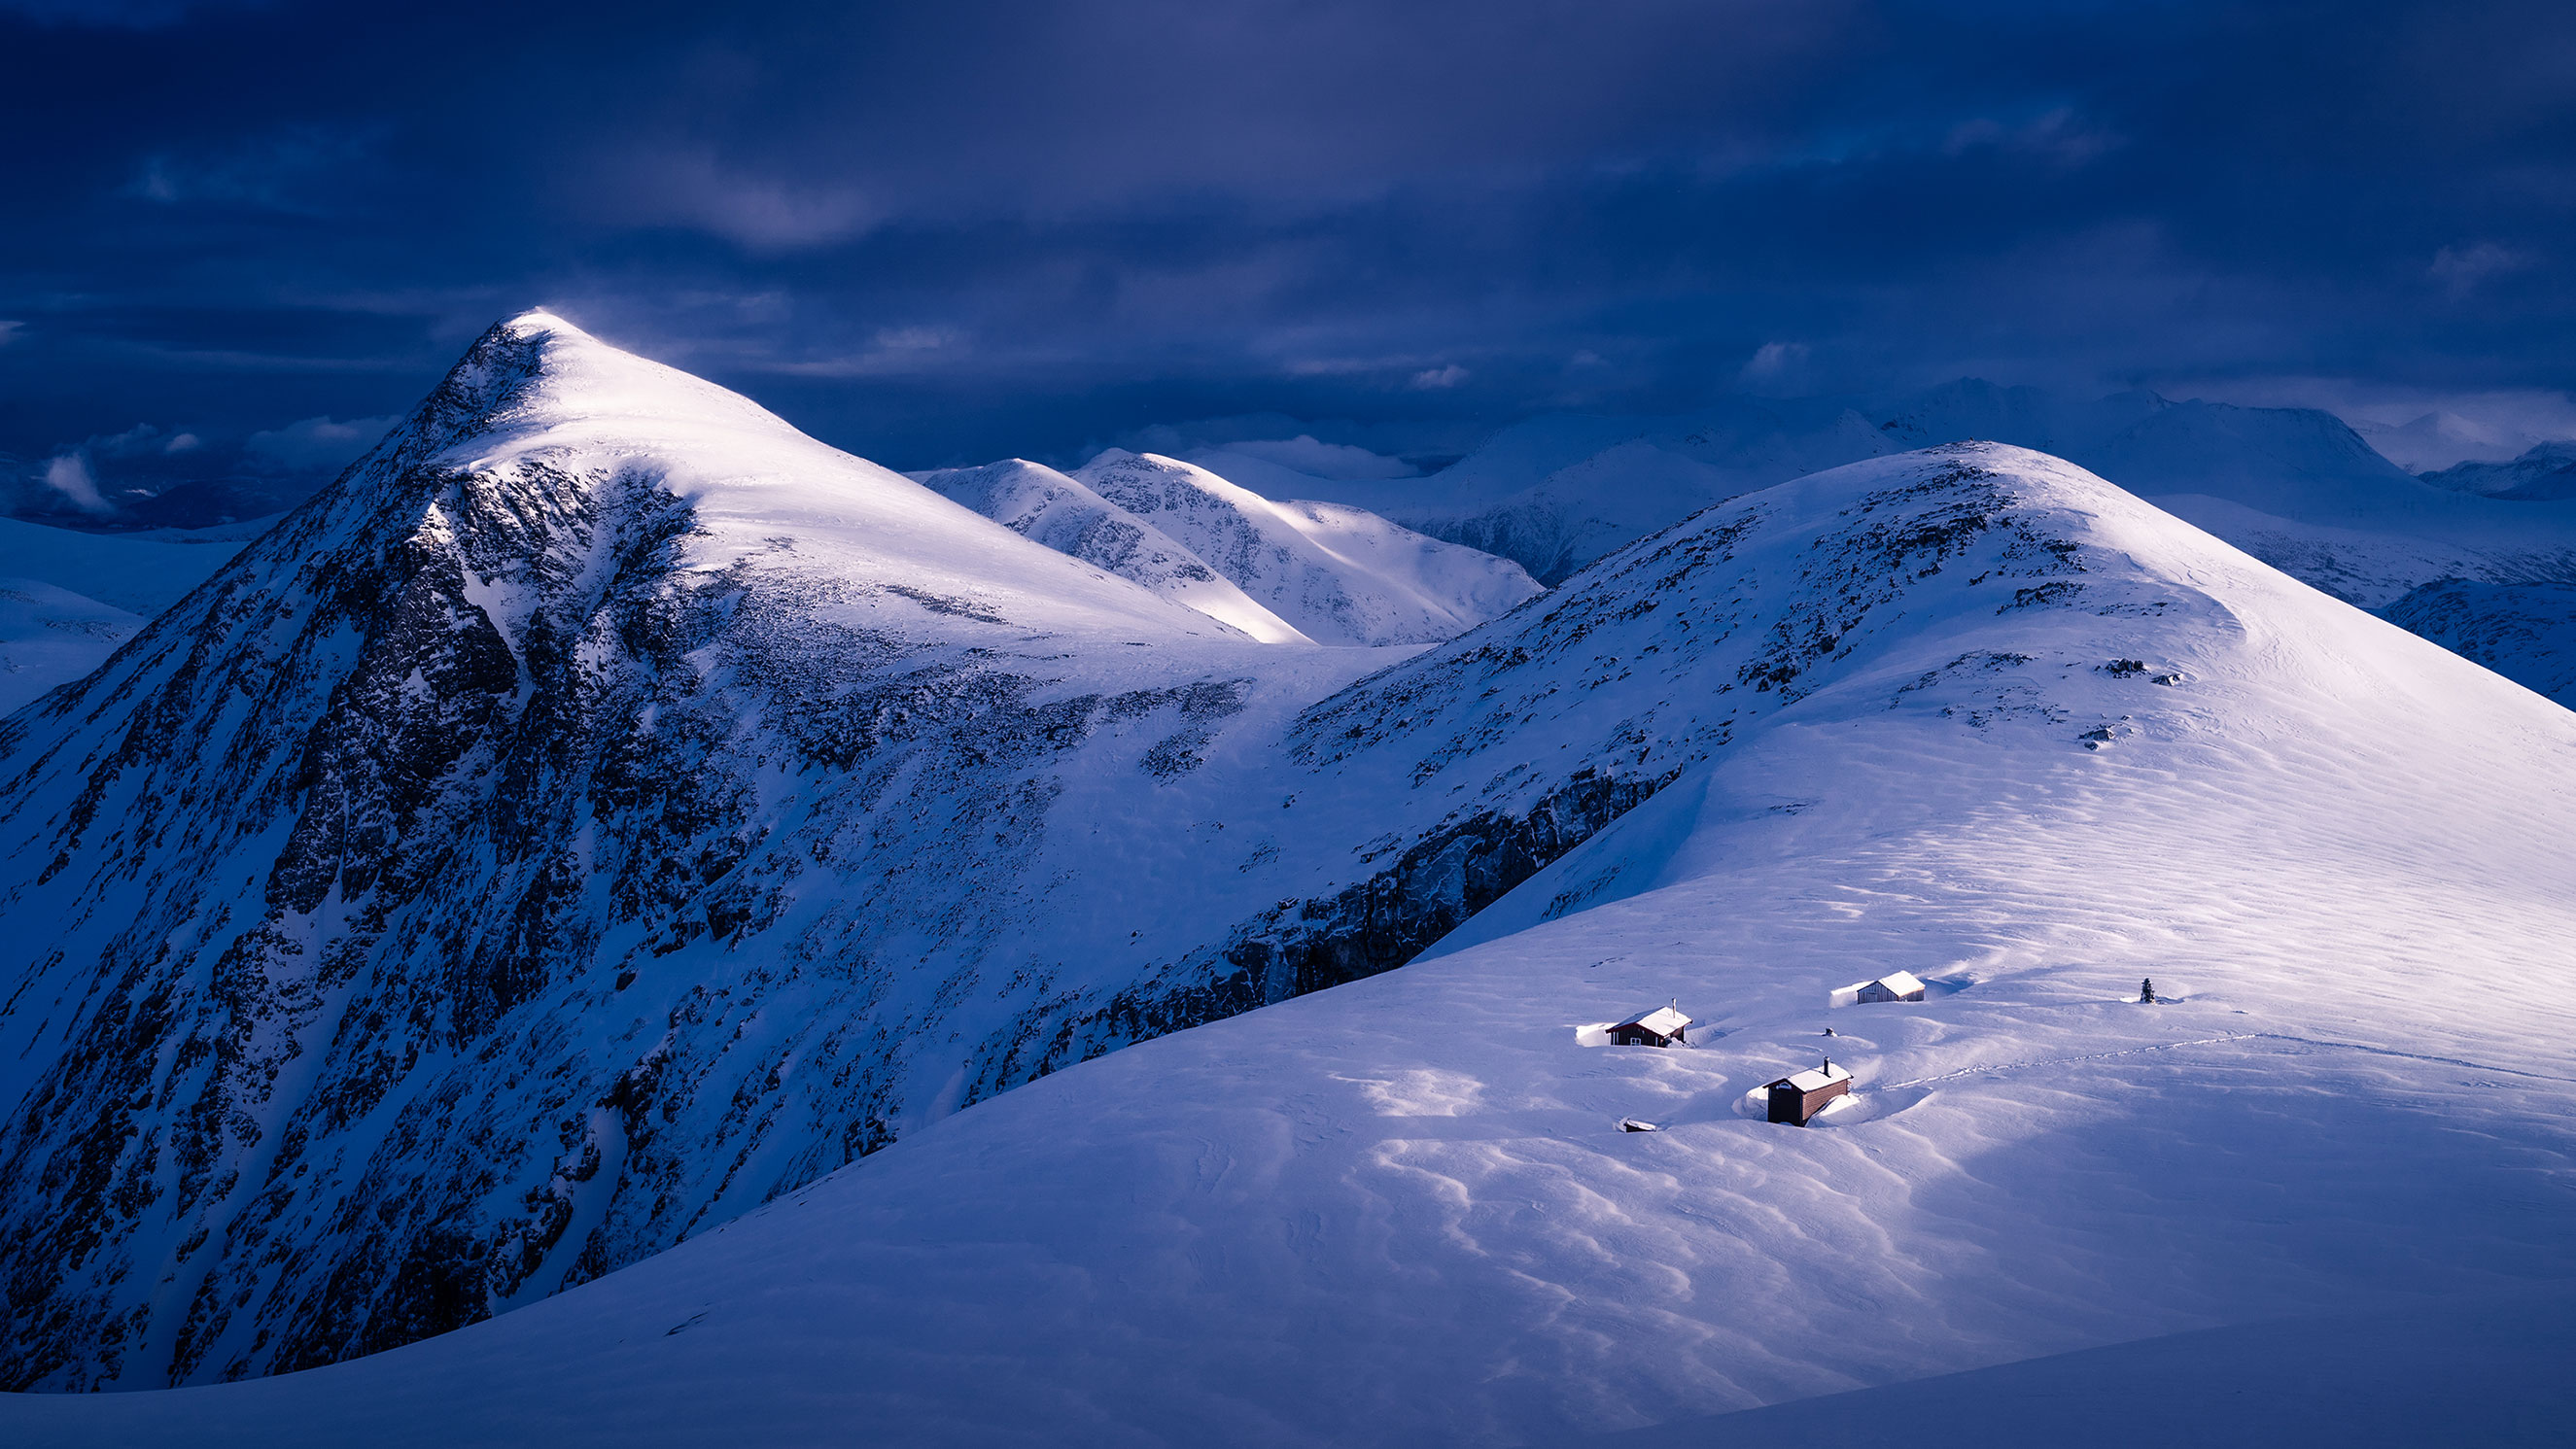
Sony A9, Zeiss Batis 40mm F/2 CF, 1/800 sec, ISO 100, F/5.6. Romsdalen, Norway
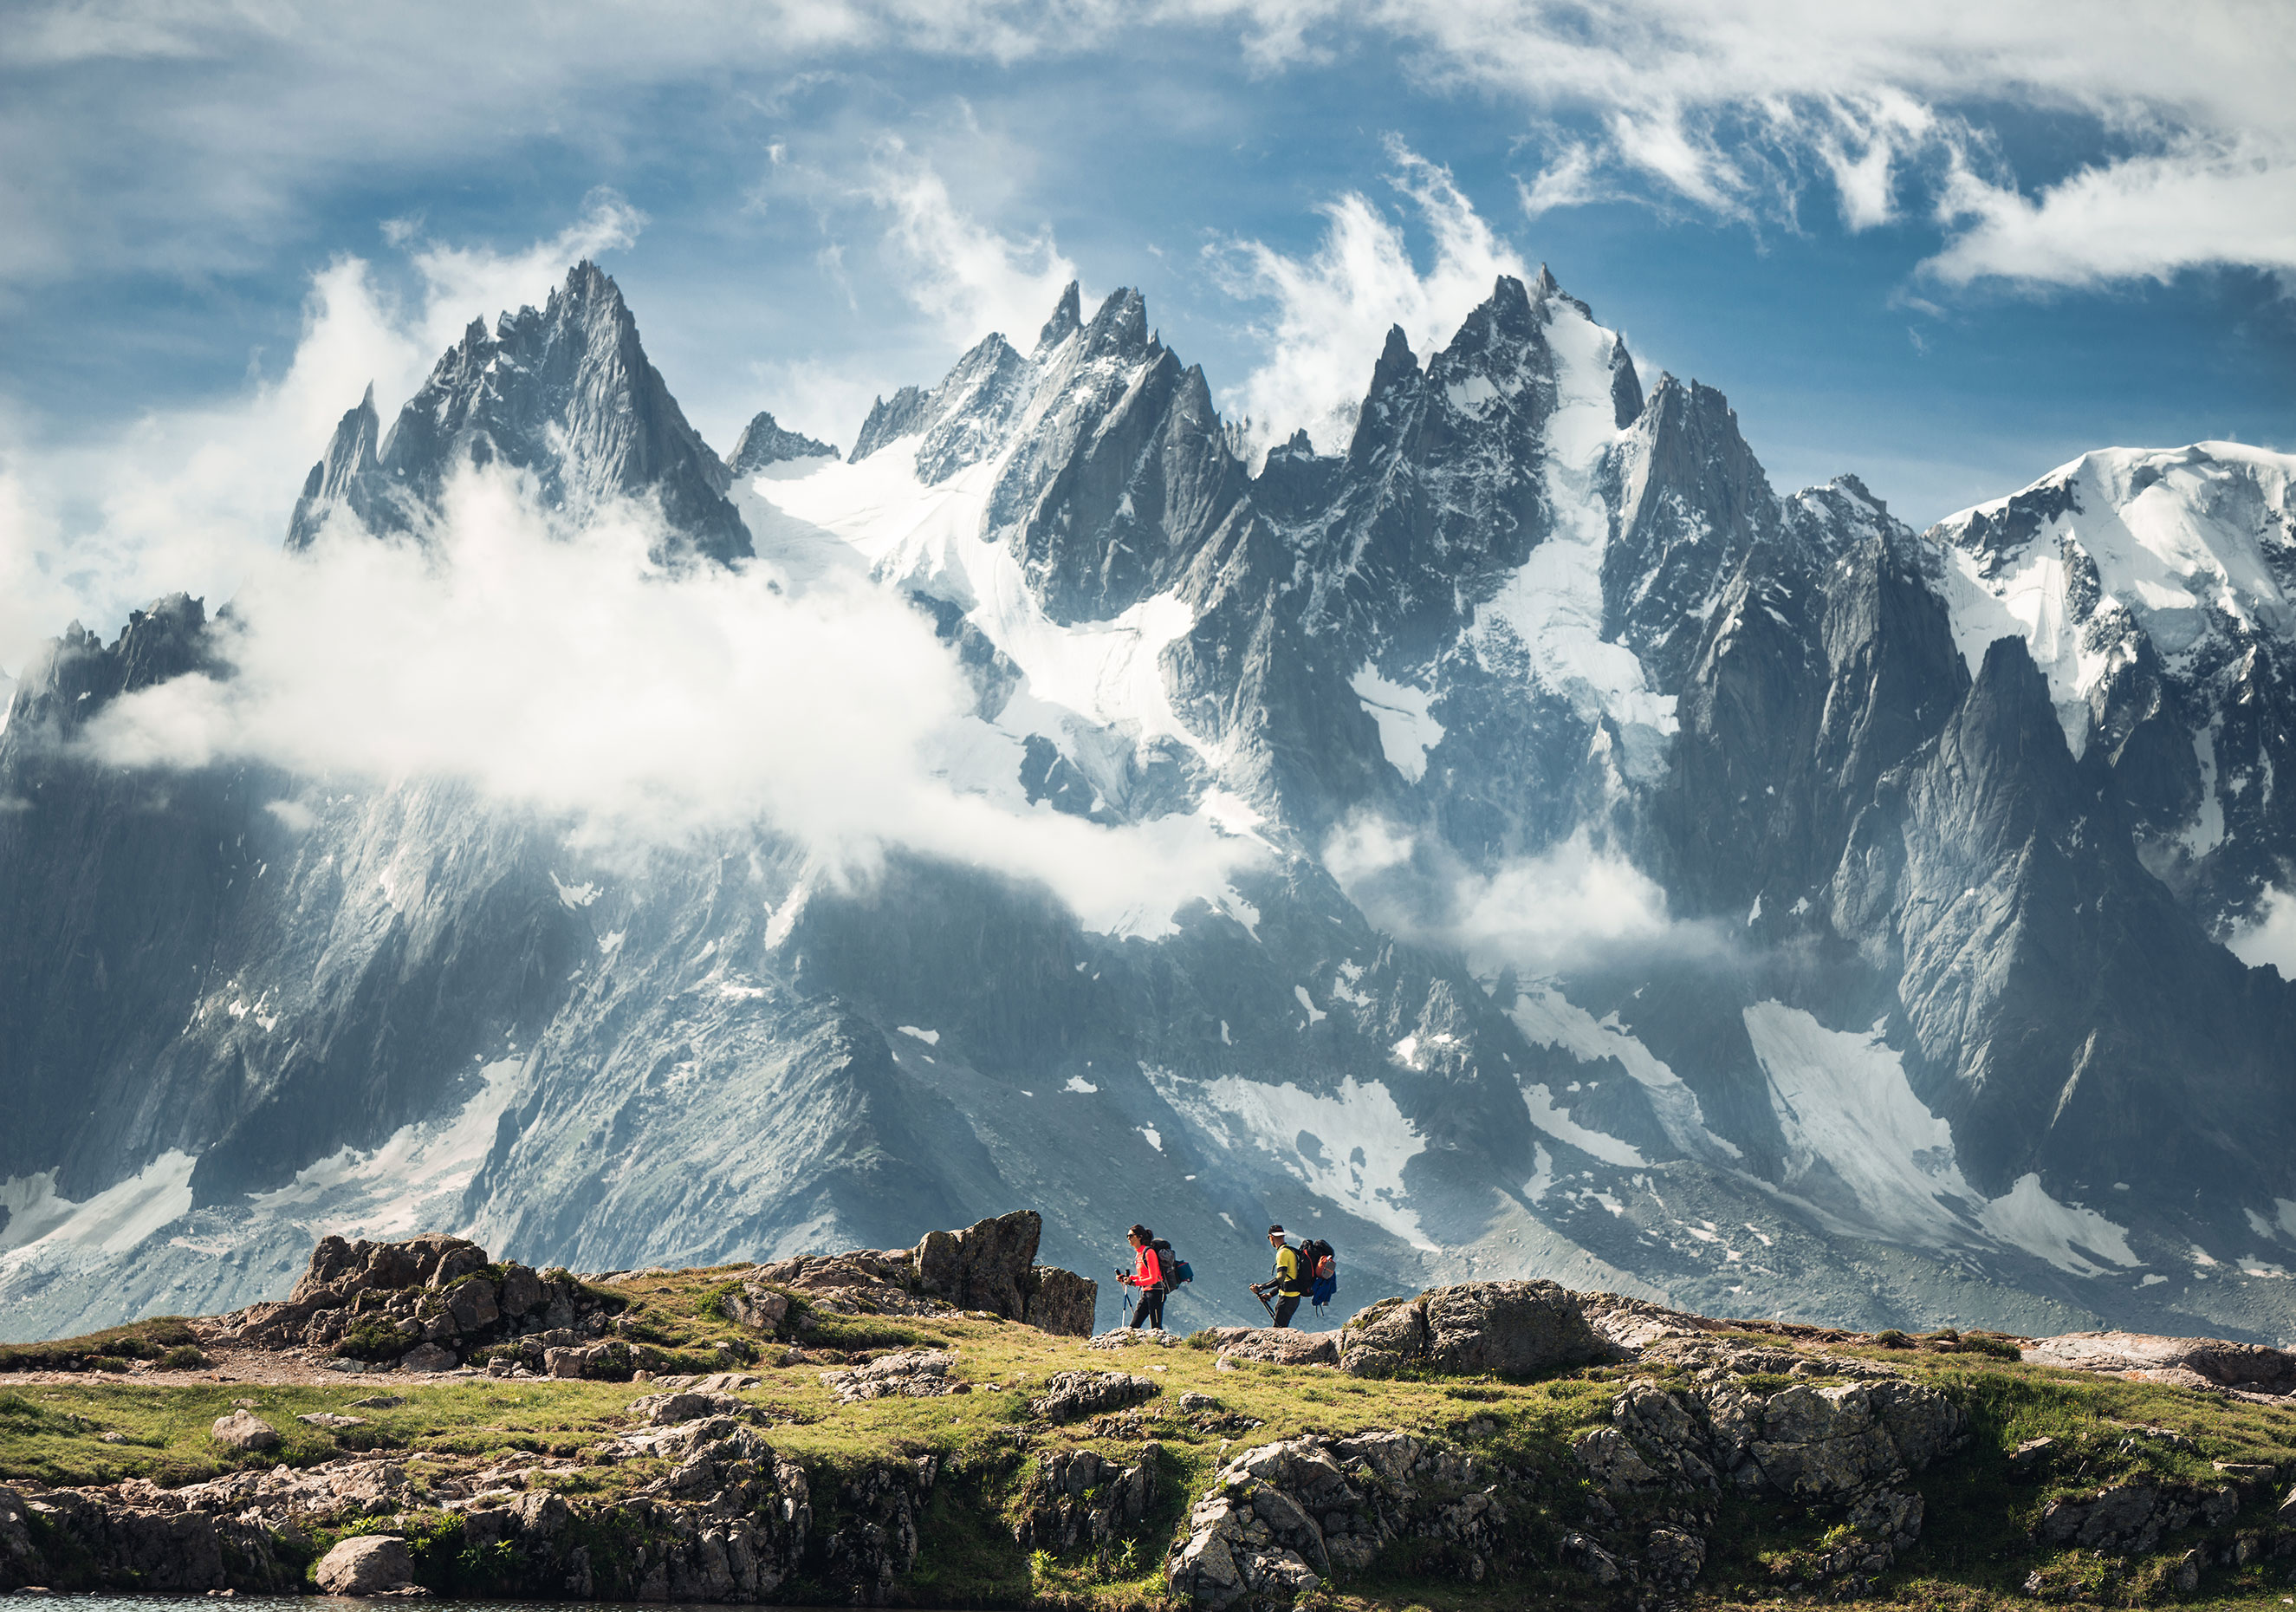
6. Dare to broaden the composition, bring a tripod
I think Instagram and our upright mobile phones are to blame for the trend of shooting most images upright with a 4x5 crop. I think most landscape photos are better horizontal. Preferably even wider: with a panorama.
Bring a tripod and a slightly longer lens. Take several photos with a bit of overlap and stitch them together in Lightroom to make a panorama. It's a magical feeling to have captured the whole mountain range in one shot. You'll then have a unique image with insane amounts of resolution that's perfect as a painting over the couch.
If you want to start taking panoramic pictures, I can definitely recommend buying yourself a good tripod with a good head early on. It's incredibly annoying with bad tripods. Believe me, if you have a bad tripod, you will have an unnecessarily heavy and cumbersome thing on your camera bag that may sink, cannot be quickly adjusted, or mounted. Or it might not be able to hold up some heavier lenses. It works fine with a regular ball head with a built-in pan function. I've been using the tripods from Sirui for the past few years and am very pleased.
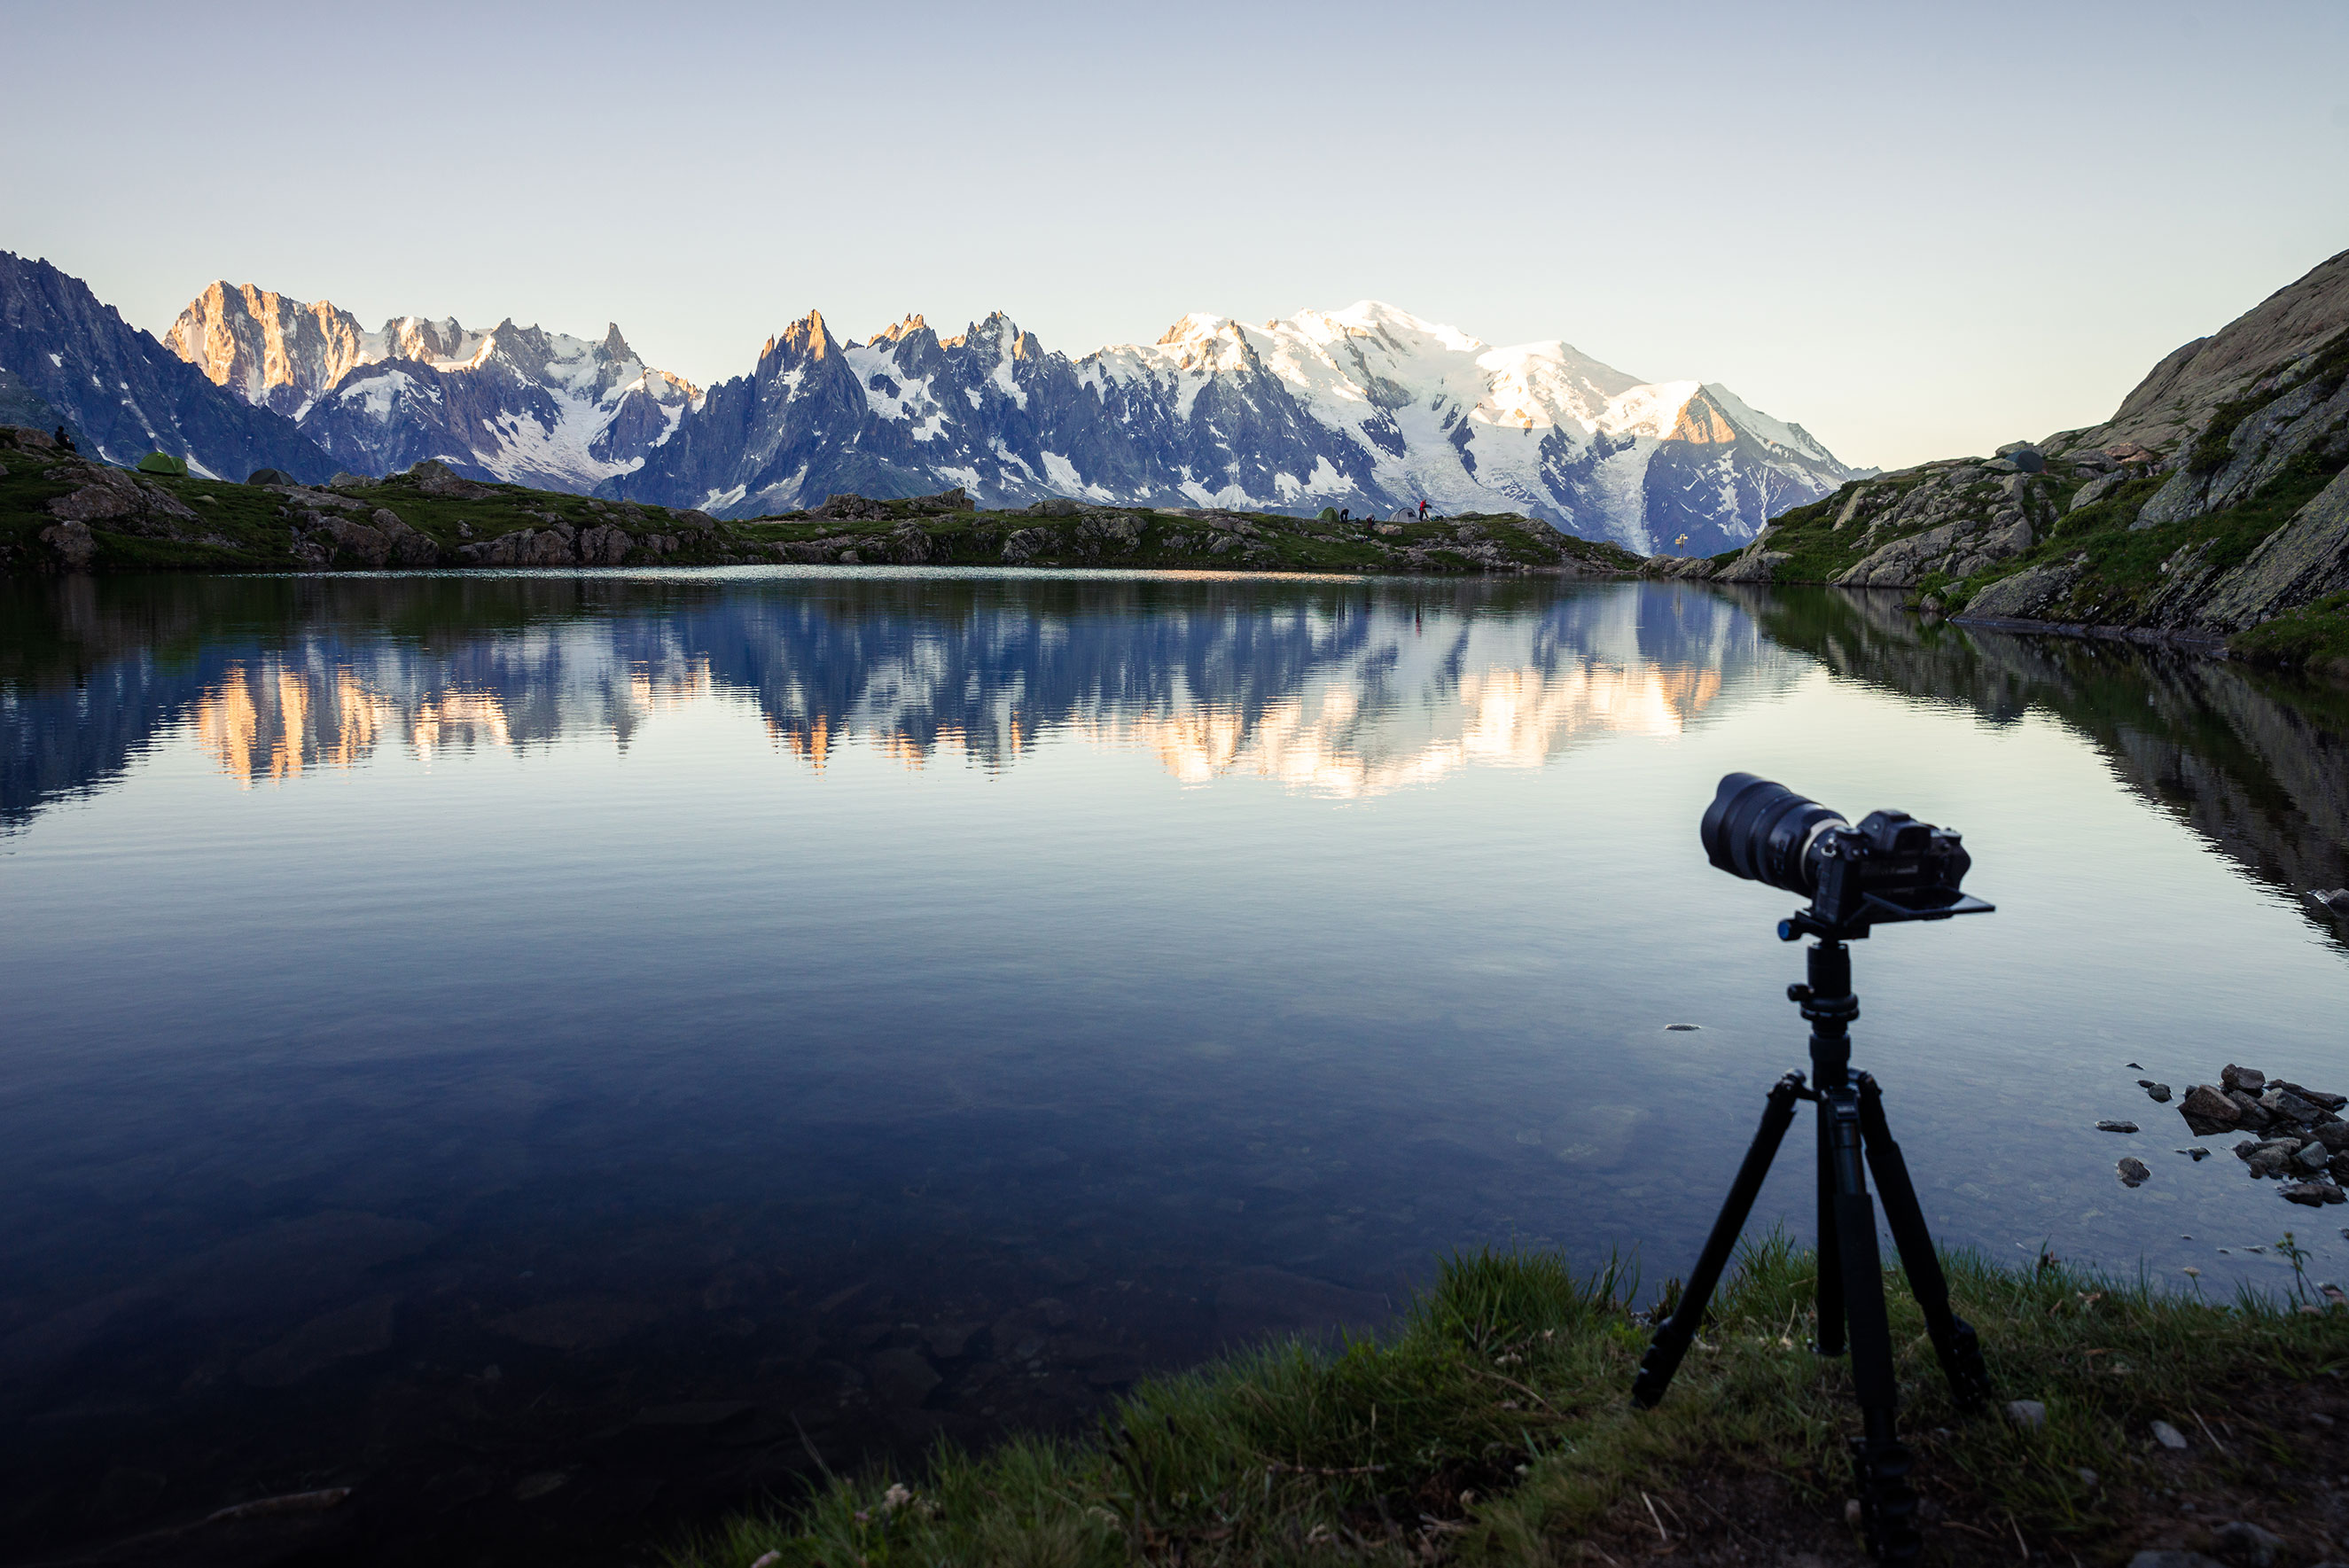
Nikon Z6 with Tamron 15-30mm F/2.8 G2 on a Sirui ET-1004 tripod in front of Chamonix's impressive mountain chain.
7. Don't look at what others have done
Nowadays, with just a few clicks of a button, there are incredible pictures of most things. Other photographers have ticked off the famous "spots" where you take the picture in the perfect light then move on to take the next one.
There's a lot to be gained by stopping being inspired by other people's images. The benefits are many but one of the biggest benefits is that your own images will probably be much more original and interesting if you allow yourself to think differently. I find myself finding it difficult to take unique pictures when I've seen lots of pictures on the internet from the same place.
From my experience, it is also much easier to be disappointed with your own photography after looking at other photographers' images from the same area. Feeling satisfied with what you've created instead of constantly comparing yourself to others is something I think is important to be able to do photography for a long time.
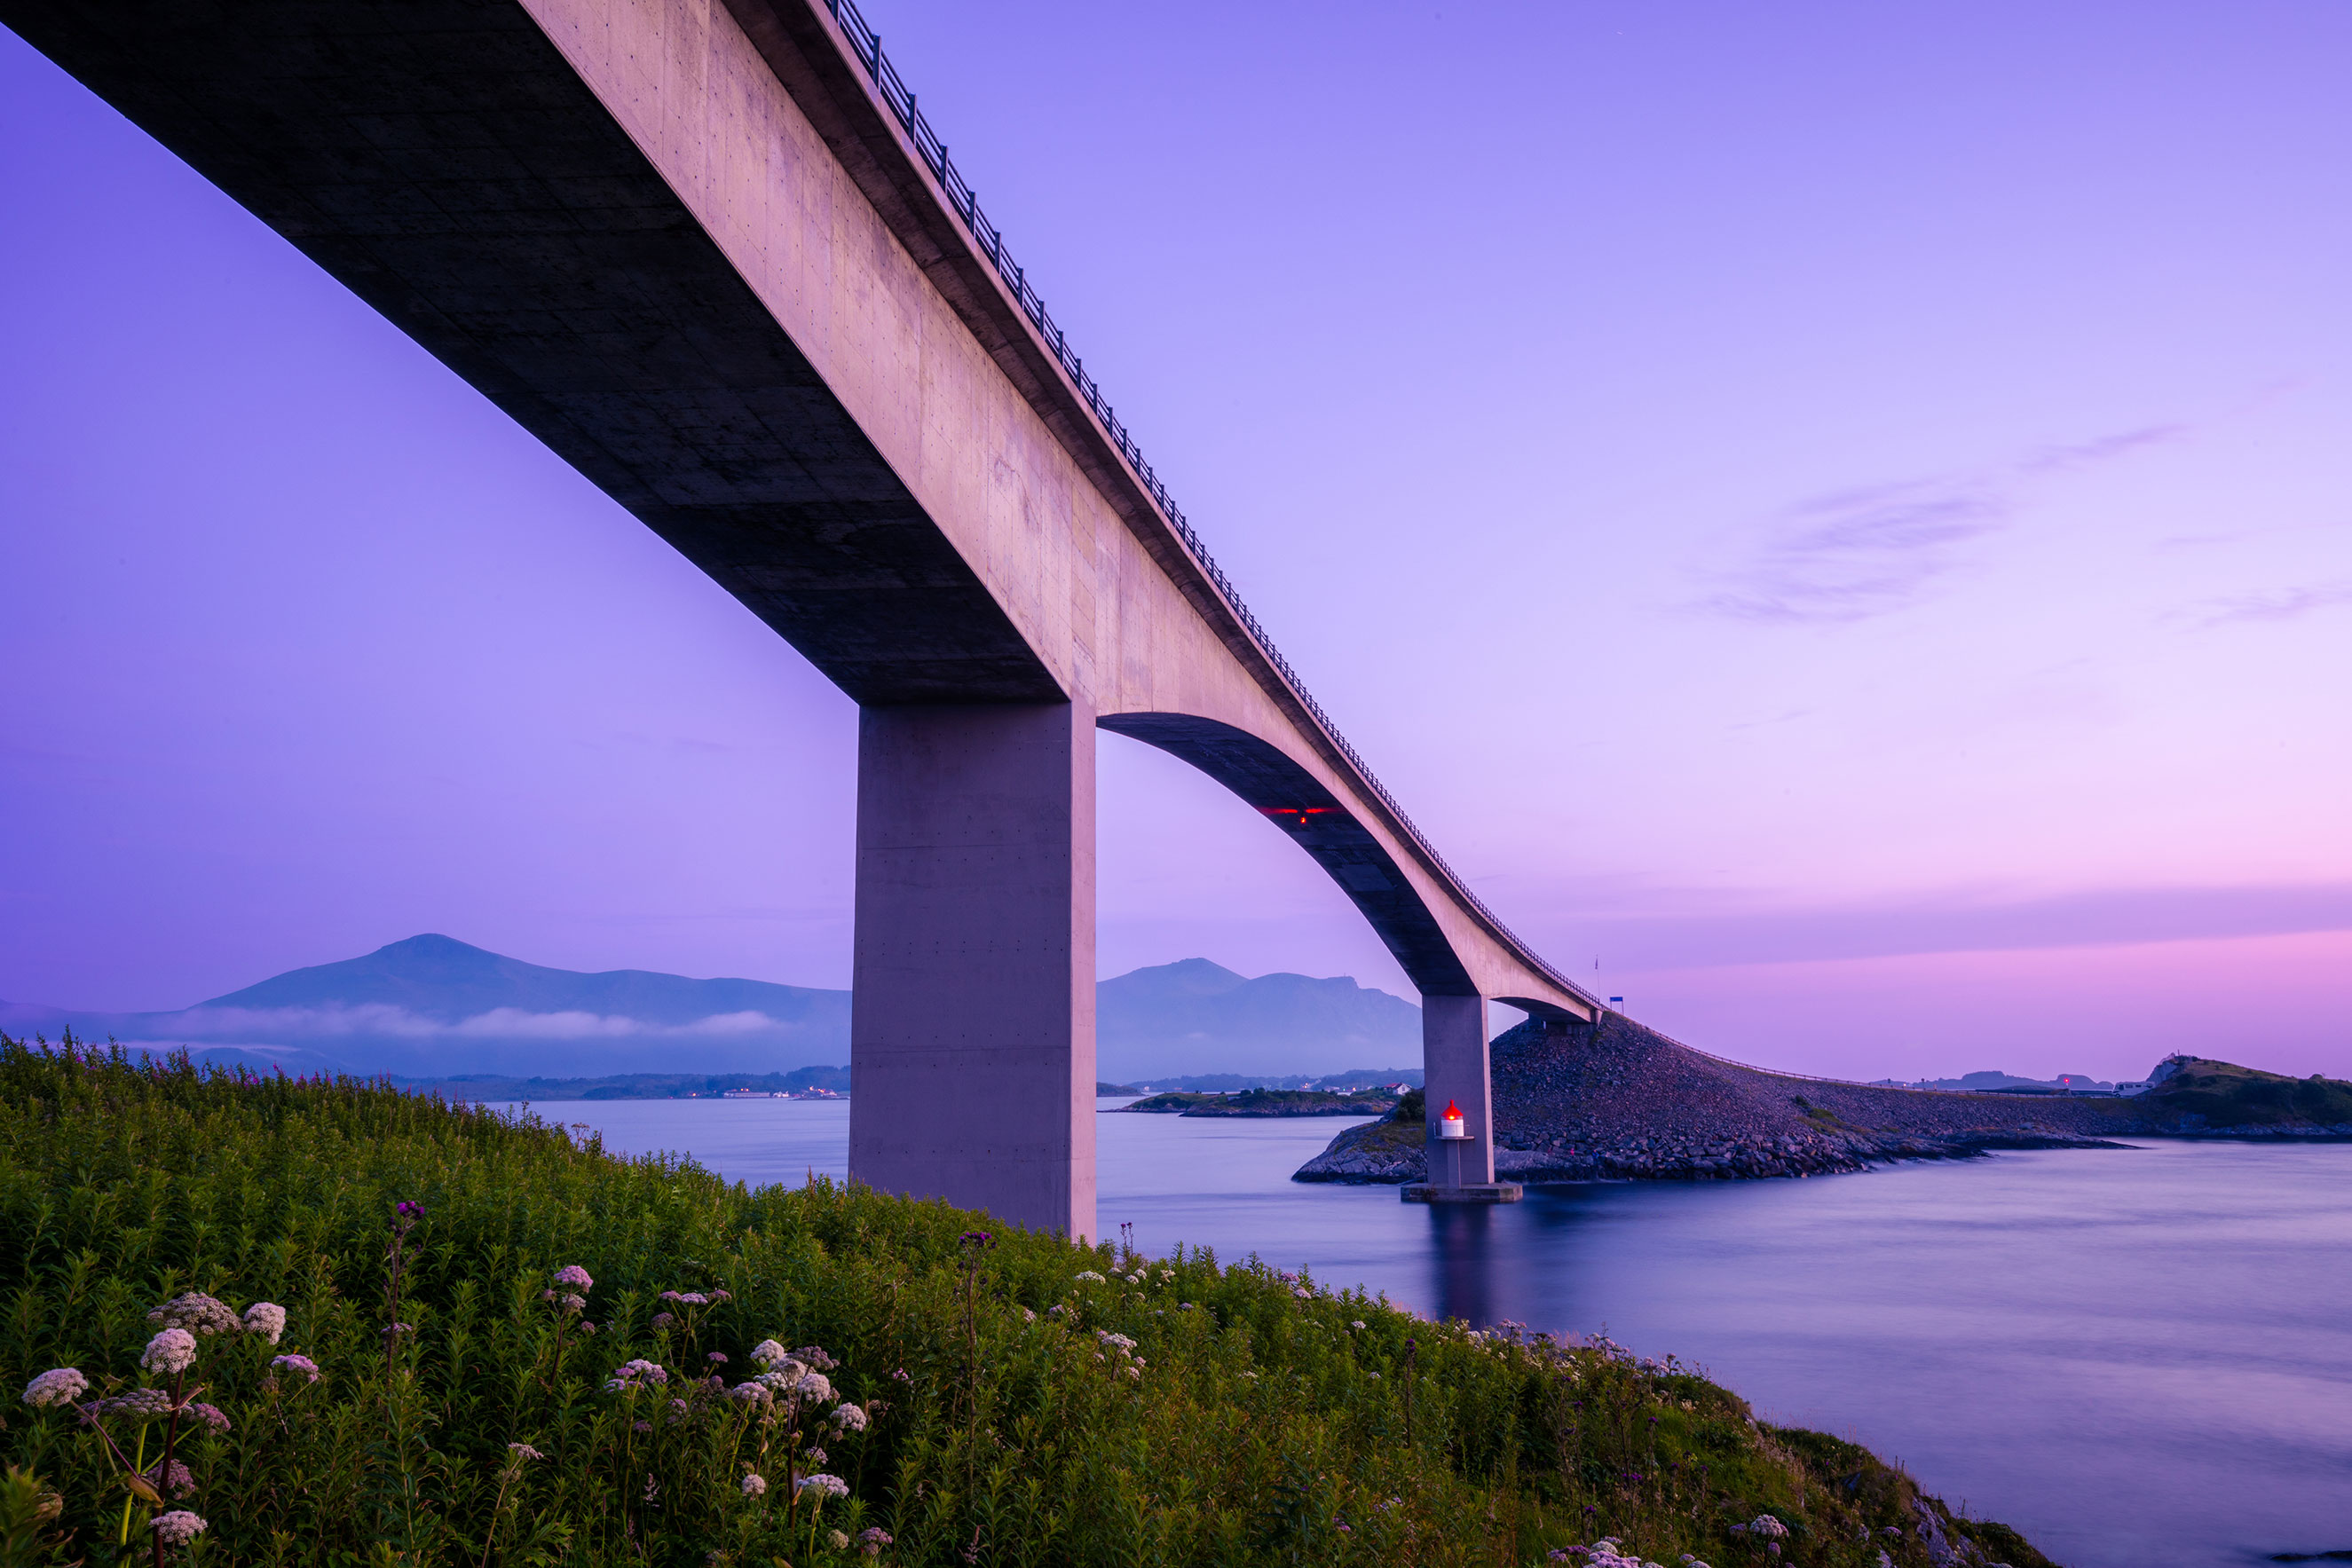
The ever-popular Atlantic Highway photographed from a different perspective. Nikon Z7, Tamron 15-30mm F/2.8 G2 @30mm, 30 seconds, ISO 32, F/18. Molde, Norway
8. Bring as little equipment as possible
A constant problem I see with us photographers is that we like big, heavy, and expensive equipment a little too much. In the popular locations you often meet at least one photographer who is completely physically exhausted after carrying 10-15kg of camera equipment for a sunset.
Usually, it's the photographers who are out the longest and hike the furthest who come home with the best pictures, not the ones with the most and most expensive gear in their backpacks. Weight is of the utmost importance. So, it becomes essential to try to minimise the weight and get rid of the grams that can be left at home. To minimise all the grams you can. An extra 2 kilos in a backpack makes a huge difference.
There are many ways to minimise weight but the most effective is usually to review your gear and see what you really need. Is it worth 2kg to have the opportunity to photograph wildlife on the road if you are lucky enough to encounter any? Probably not.
Review the weight and size of what you have with you and try to apply a Marie Kondo approach to it. Usually a camera body, a normal zoom, a tripod, and an extra battery is all you need. Possibly a couple of filters and the wide-angle lens if you think you'll have use for those.
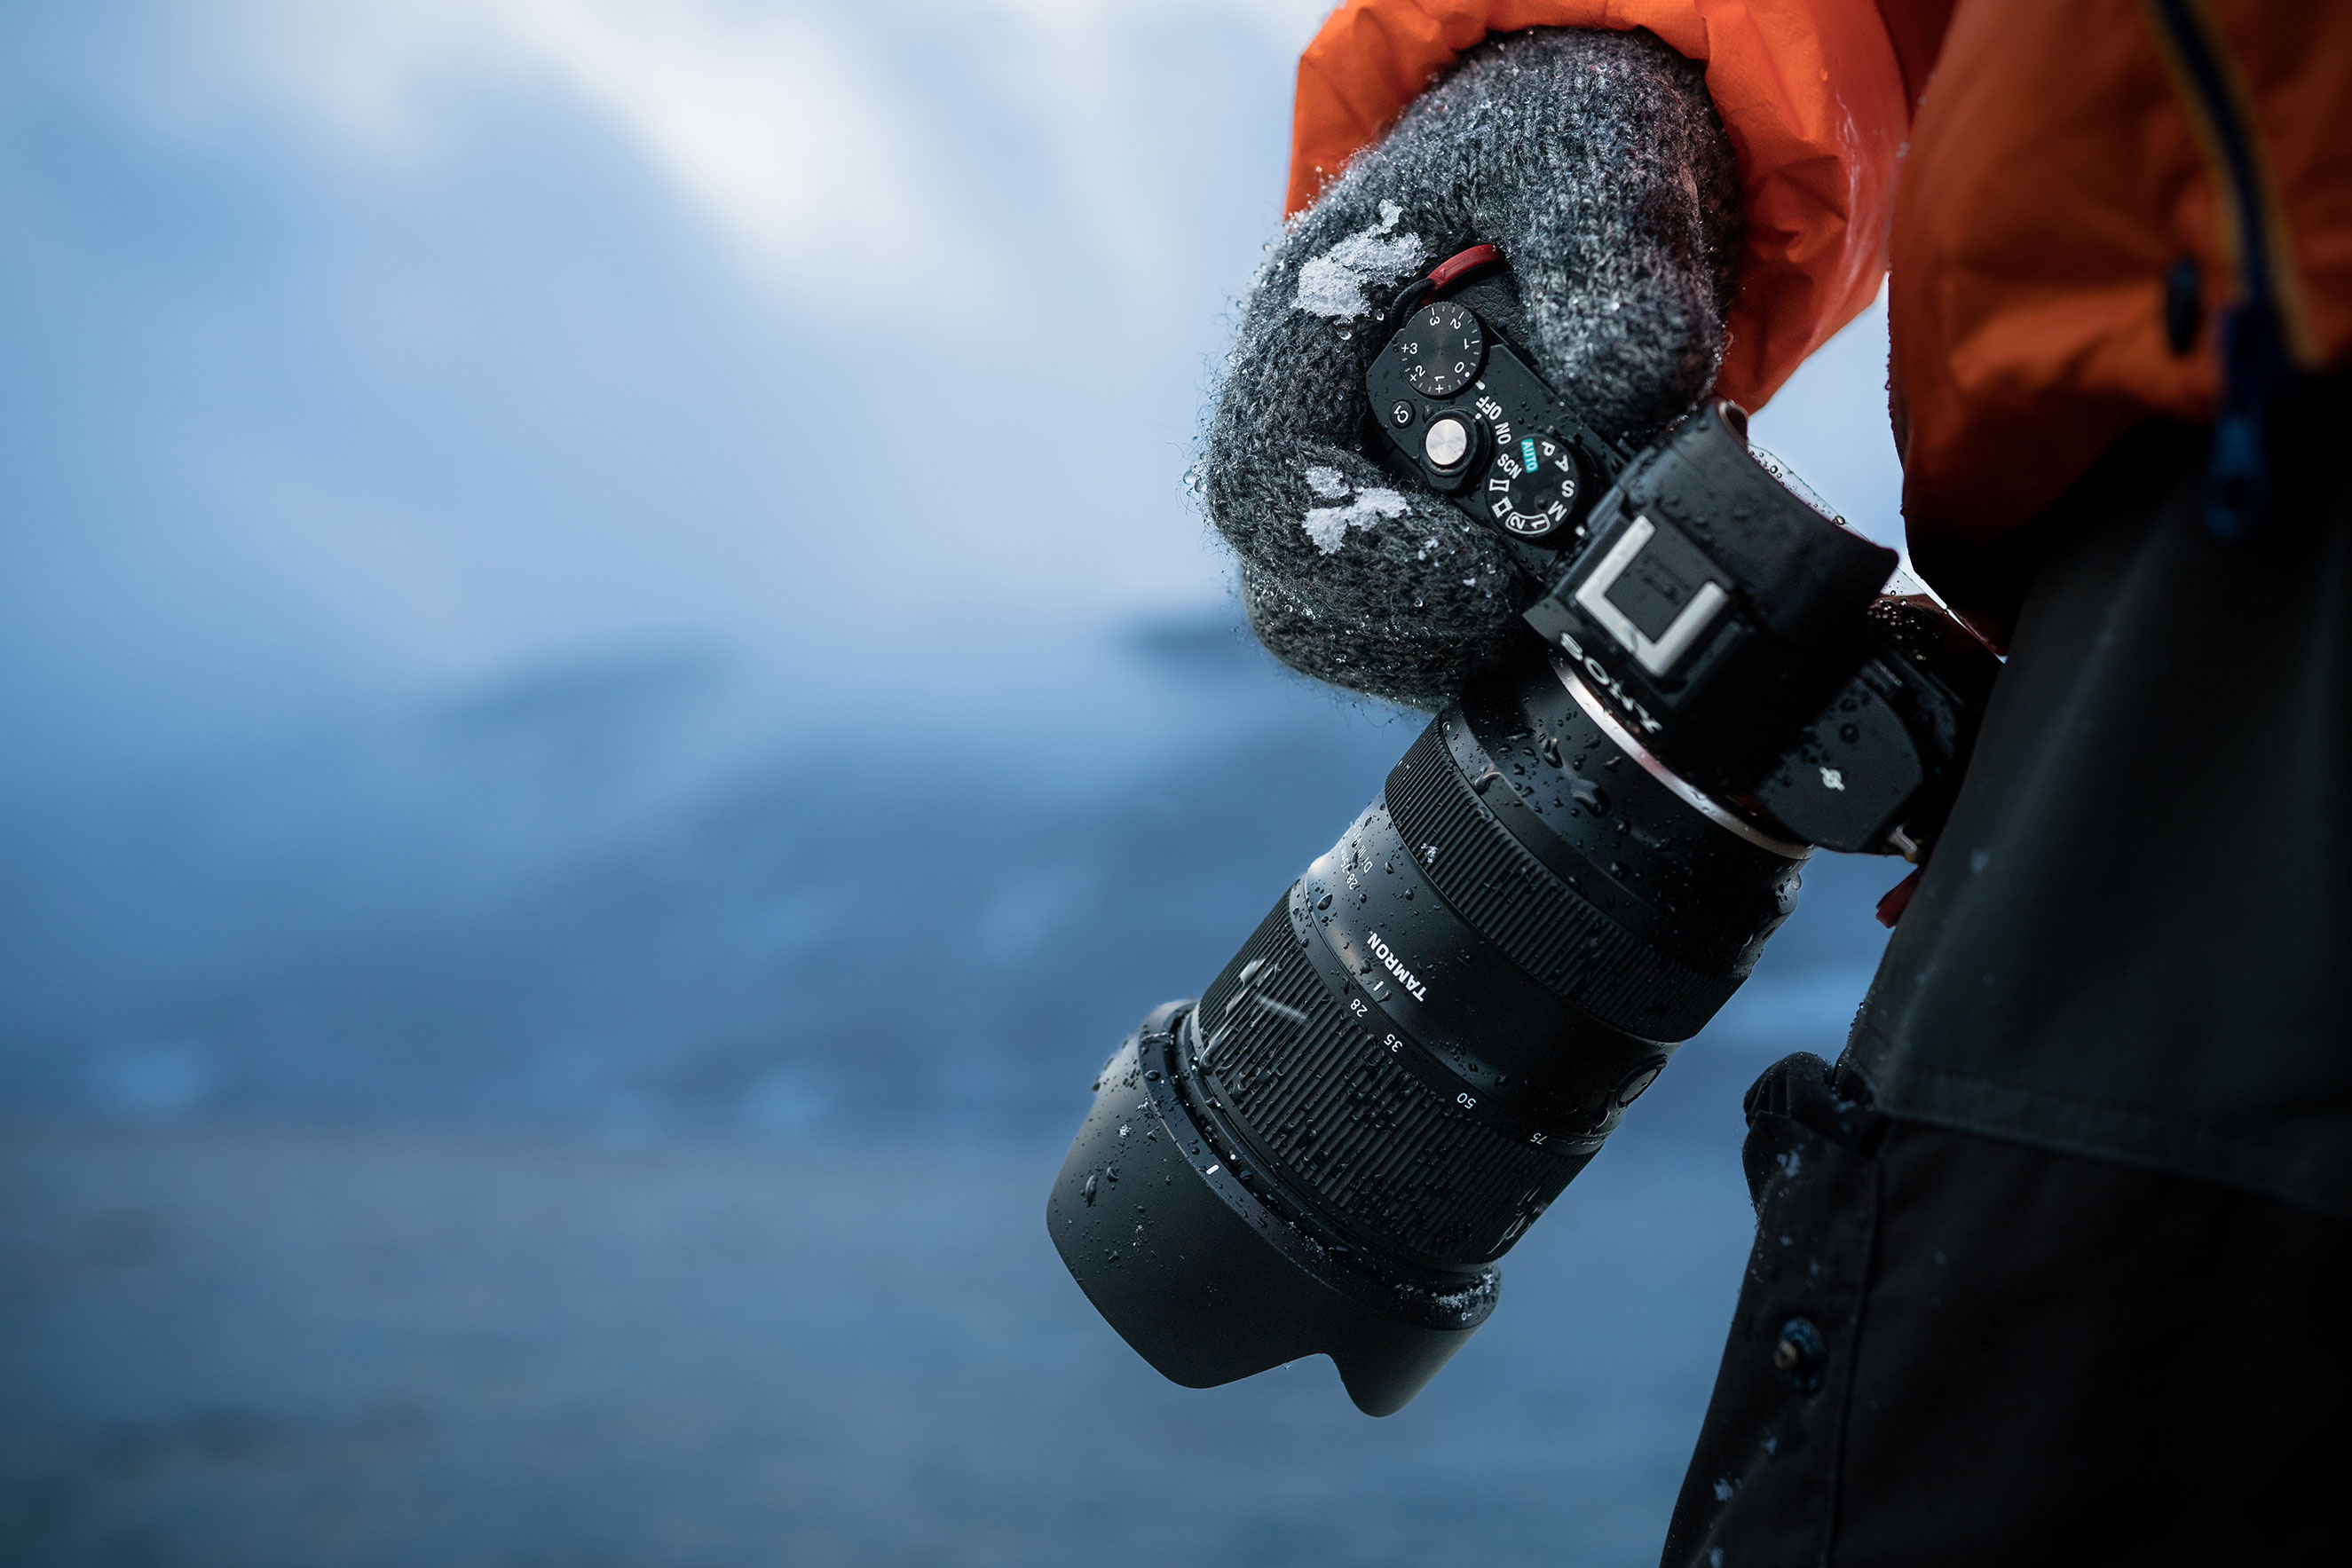
For me, the new lighter mirrorless lenses are ground-breaking. My F/2.8 wide-angle zoom, 17-28mm, weighs only 1/3 of my old one while the new one has much better image quality. The difference in weight means I can usually pack two or three lenses instead of one. Or pack a lot of 200-gram chocolate bars. I use Tamron's F/2.8 zooms for Sony full-frame and can in good conscience recommend them. Better lenses for landscape photography don't exist.
Favourite Tamron 28-75 F/2.8 lens for Sony on a wet day at work. Sony A9, Zeiss Batis 40mm F/2 CF, 1/320 second, ISO 100, F/3.5. Åndalsnes, Norway